
SOUTH COOLUM ROAD · COOLUM BEACH
Building a backyard POD in Coolum Beach.
See how 16 numbered construction days moved this Coolum backyard POD from site survey to external flashings and trims.
LOCATION
Coolum Beach
Sunshine Coast
PROJECT
Backyard POD
South Coolum Road
FLOOR SYSTEM
Concrete slab
Slab on ground
BUILD TIME
16 numbered days
Survey to external trims
THE BUILD / SOUTH COOLUM
From an established backyard to external lock-up.
The South Coolum POD was positioned within an established backyard. Pre-construction checks covered its building position, nearby services, ground levels and drainage.
The rear corner was cut down and the material used to build up the front. Crusher dust prepared a level base before under-slab plumbing and the reinforced concrete slab.
Across 16 numbered construction days, the POD progressed through its slab, TrueCore frame, roof, windows, TRIMDEK and Weathertex cladding, flashings and trims.
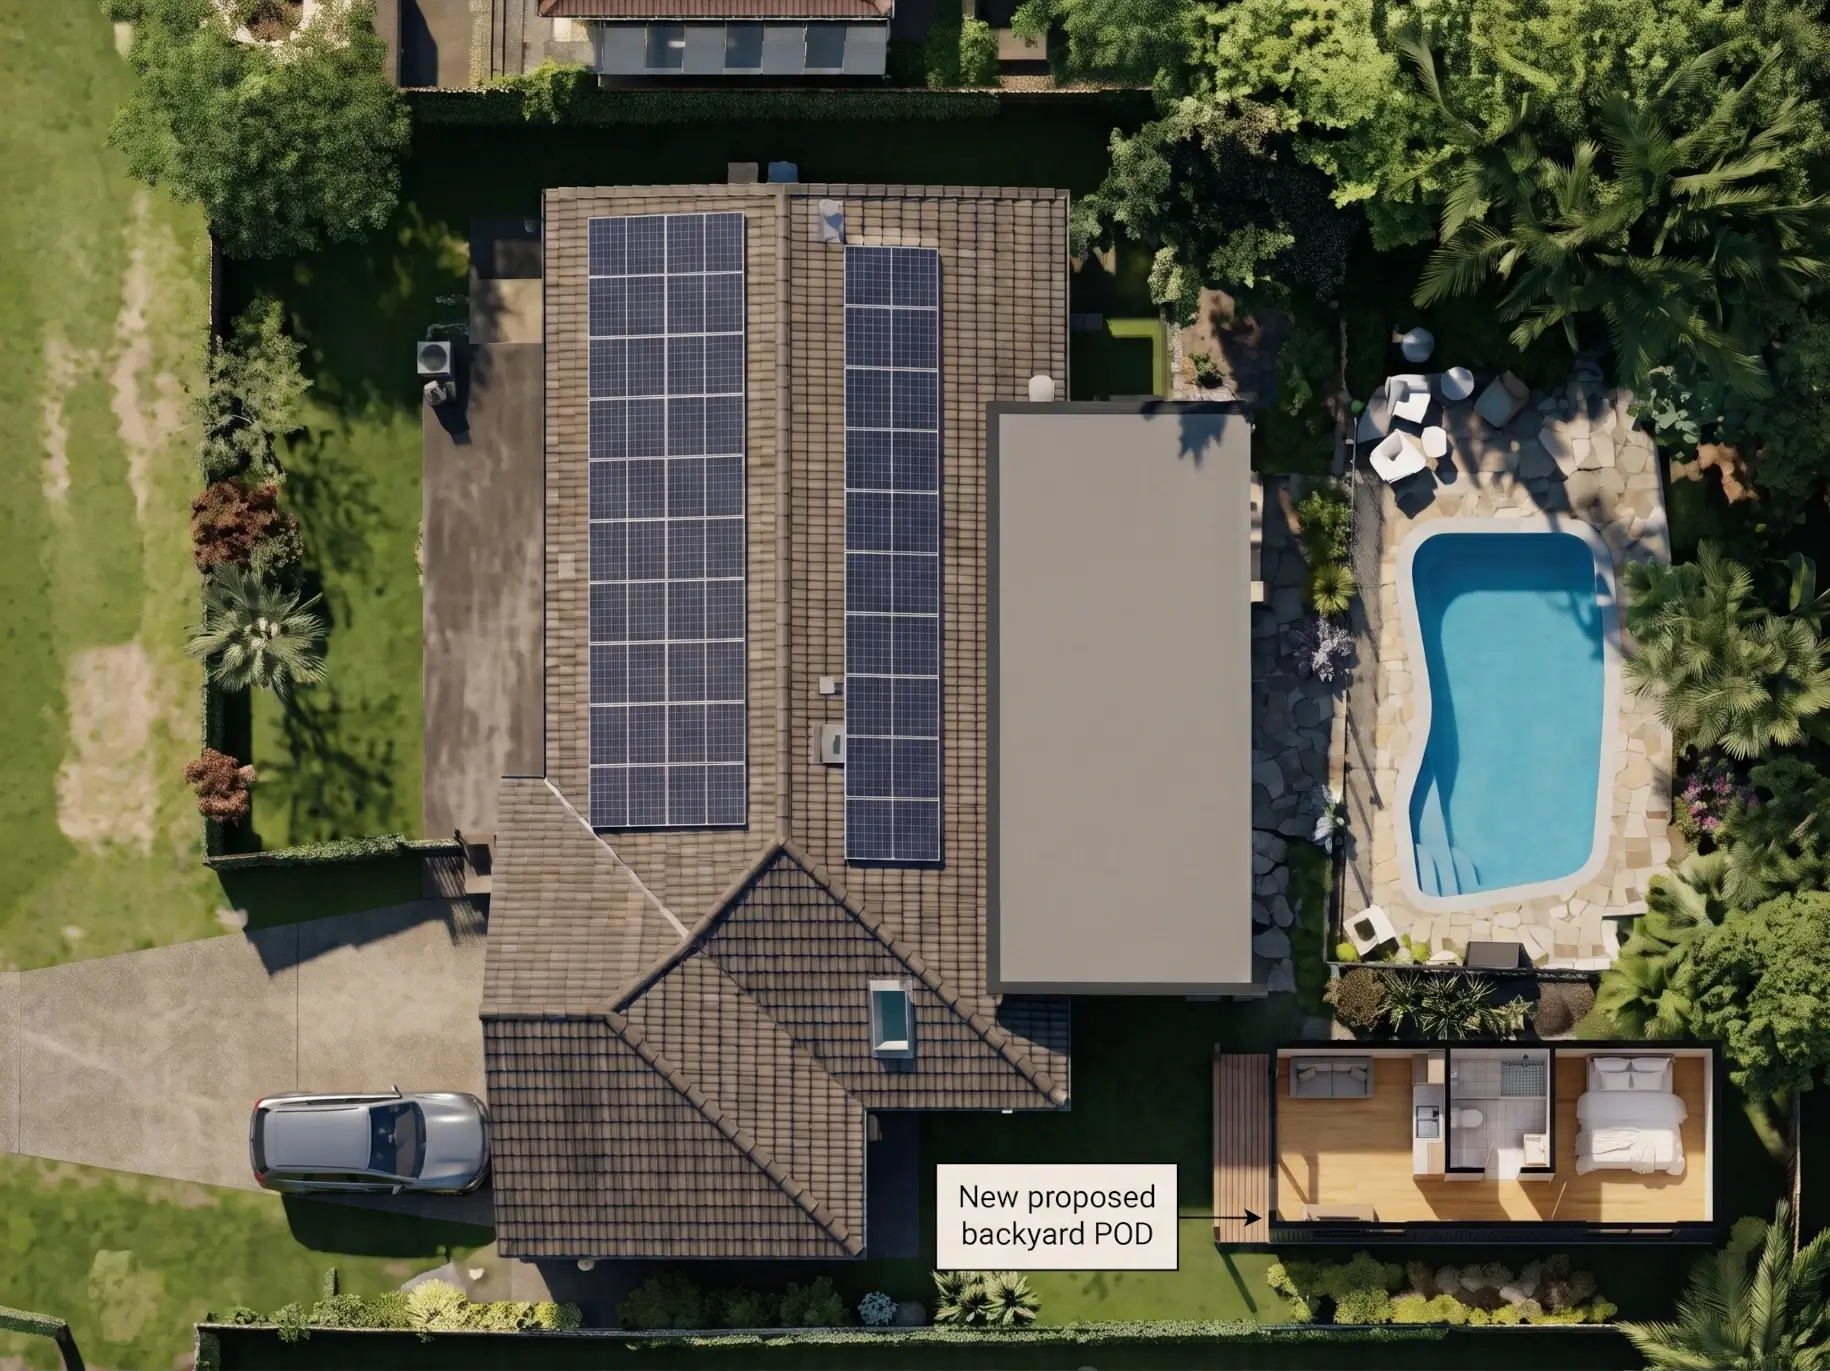
THE WORK BEHIND THE PROGRESS
An existing backyard. Details to resolve.
Position, levels, services and construction order all shaped how this POD was built.
01 / BUILDING POSITION
Starting in the right place.
A gridline survey established the POD’s position against the approved site plan, property boundaries and existing structures. The survey formed part of the certifier compliance documents.
02 / GROUND LEVELS
Preparing a level base.
The rear corner was cut down and the material used to fill the front. Crusher dust prepared the building pad for the slab.
03 / EXISTING SERVICES
Planning the connections.
Checks covered mains water, sewer, stormwater, power and the switchboard. Sunshine Coast Council inspected the under-slab plumbing before the slab was poured.
04 / NO-EAVES DESIGN
Getting the sequence right.
With no eaves, the rear windows and cladding were installed first so gutter flashing could go in before the roof.
05 / EXTERNAL CLADDING
Layering the external finishes.
TRIMDEK wrapped the main walls. Cavity battens prepared the entry for Weathertex cladding before the final flashings and trims.
BEFORE CONSTRUCTION
Checks that informed the build.
Before work began, the team reviewed the site, services, approvals and building position for the South Coolum POD.
- Mains water location and capacity
- Existing sewer and stormwater routes
- Mains power and switchboard capacity
- Property boundaries and setbacks
- Building height requirements
- Ground levels and drainage
- Existing structures and site conditions
- Approved plans and building position
FROM SURVEY TO EXTERNAL LOCK-UP
How the POD took shape.
Eight milestones group 16 numbered construction days, from the site survey to external flashings and trims.

01 · DAY 1
Survey & site preparation
A gridline survey fixed the building position. Grass was cleared, the rear cut and the front filled before crusher dust levelled the pad.
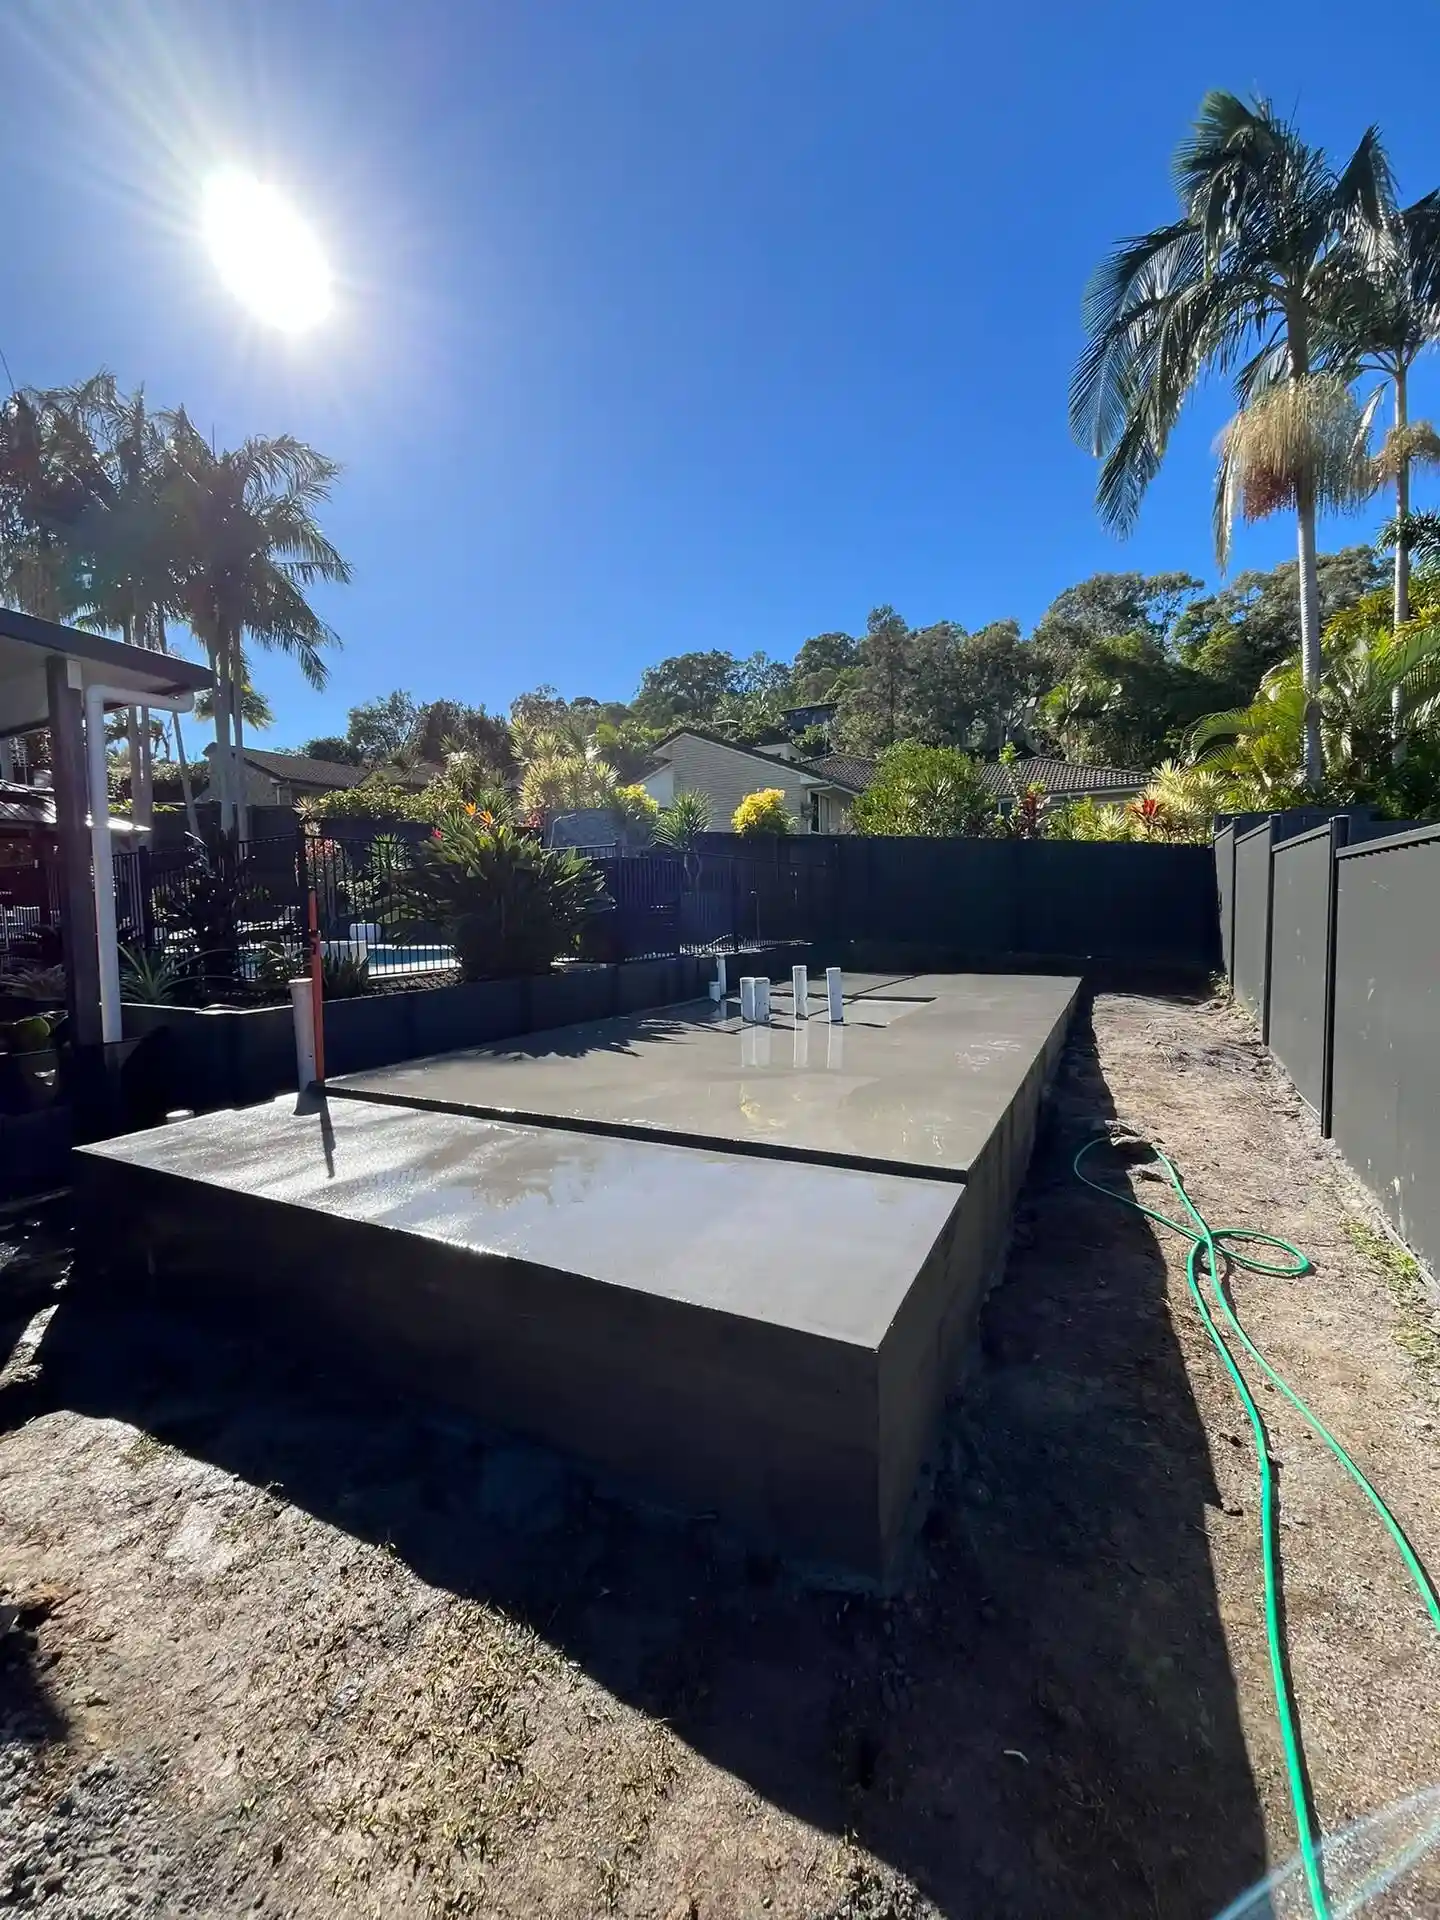
02 · DAYS 2–4
Plumbing & concrete slab
Plumbing set-out established gridlines, levels and falls, followed by Sunshine Coast Council inspection before the slab. Piers, beams, formwork, step-downs and reinforcement were prepared, then the concrete was poured.

03 · DAYS 5–7
TrueCore frame & roof framing
TrueCore steel wall frames were installed, straightened and braced. Steel roof framing panels followed on Day 7.
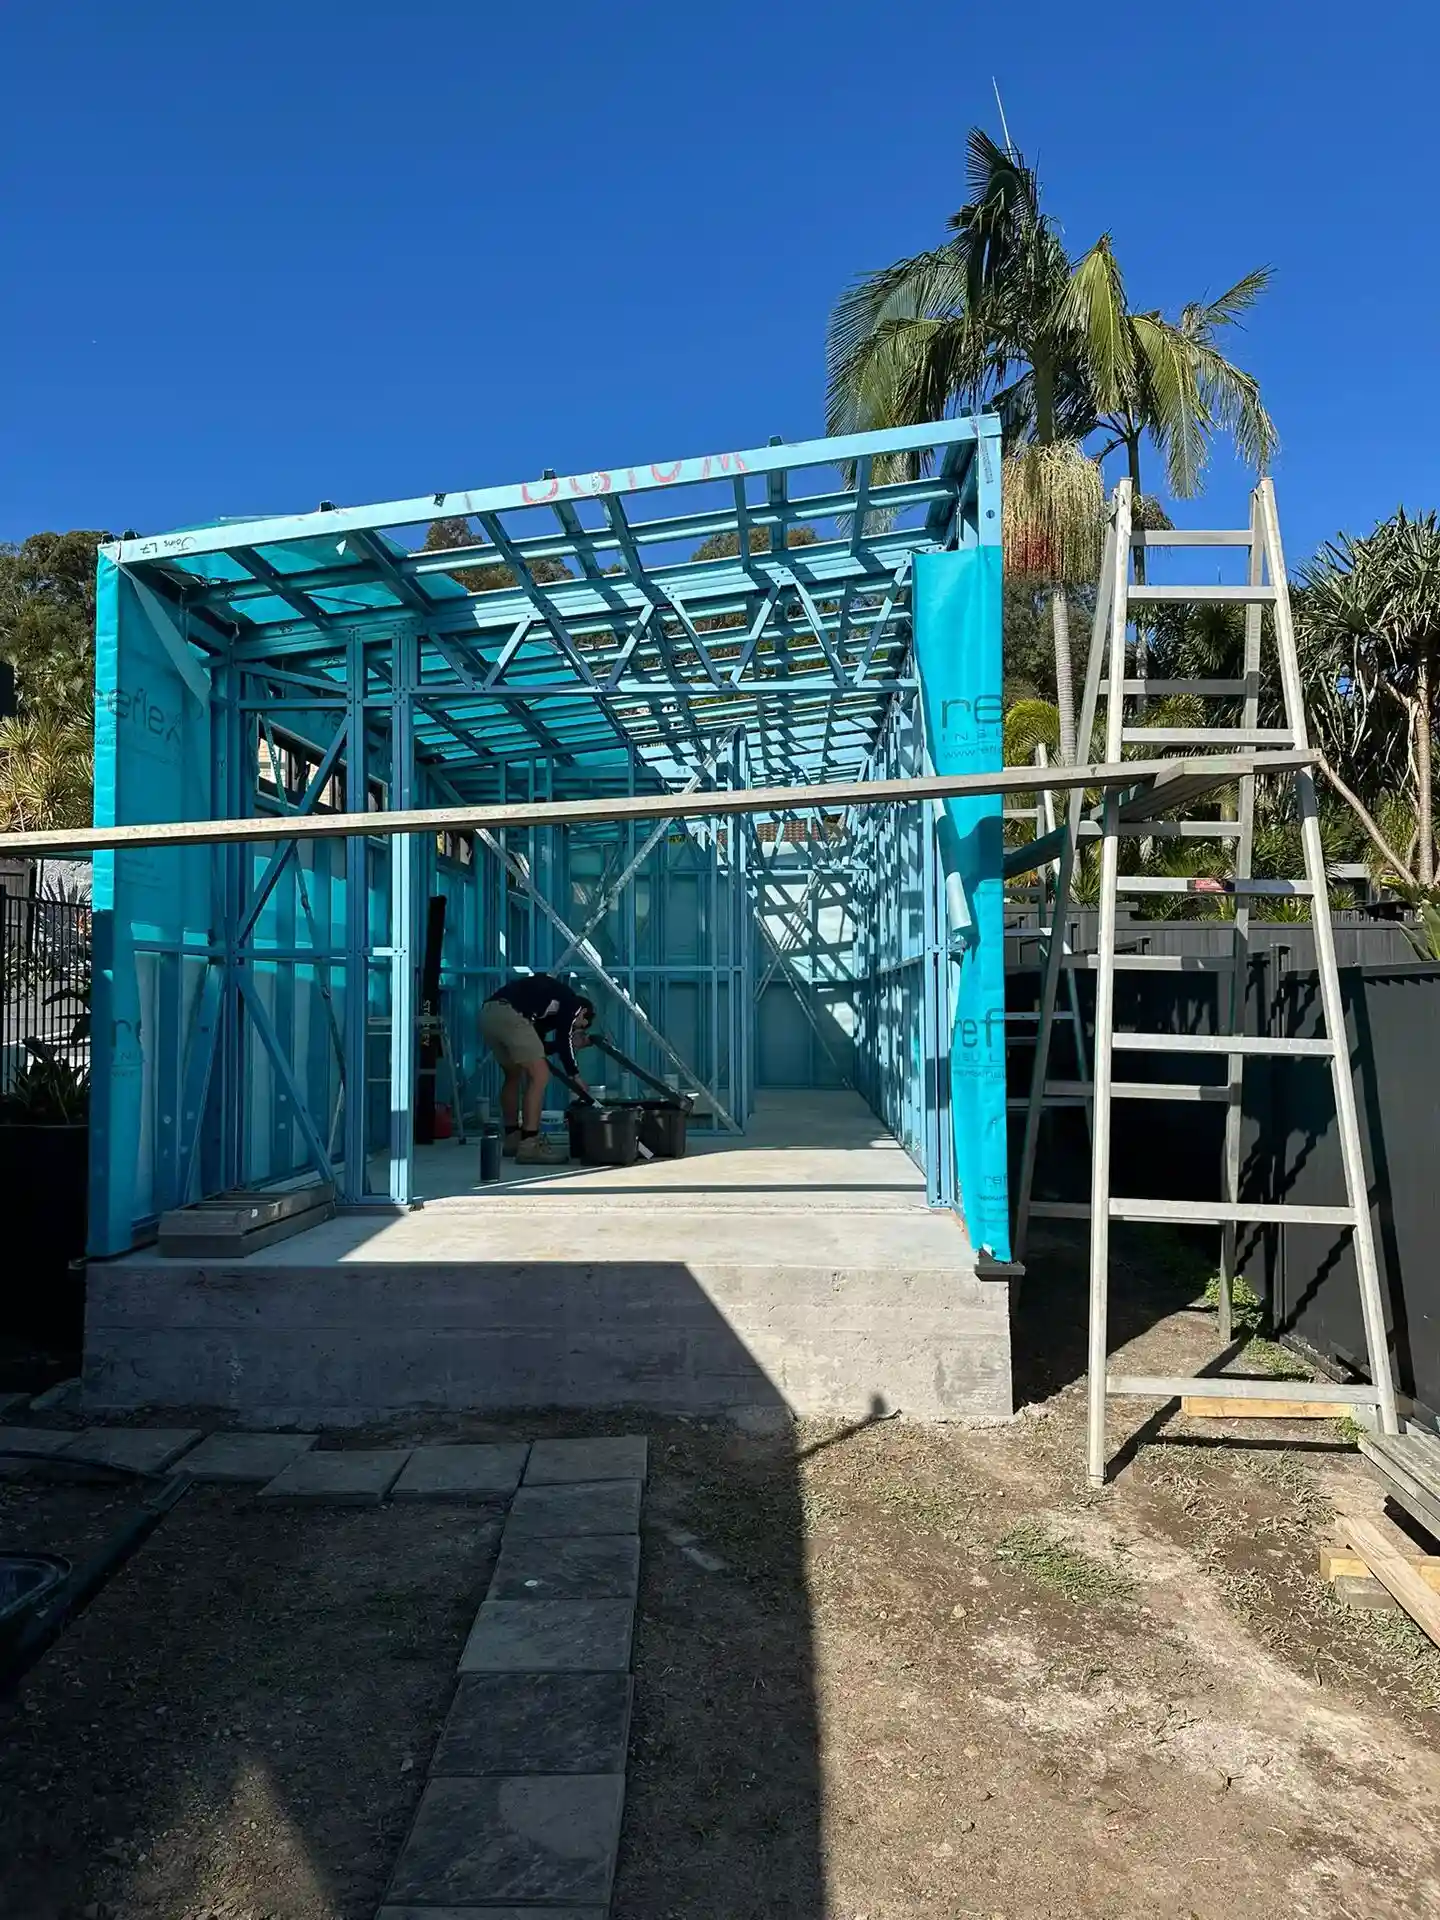
04 · DAY 8
Wall sarking
Wall sarking wrapped the steel frame before the remaining exterior layers.

05 · DAYS 9–10
Rear windows, cladding & flashing
With no eaves, rear windows and cladding came first so gutter flashing could be installed before the roof.

06 · DAY 11
Roof sheeting, gutter & windows
The gutter, metal roof sheeting and remaining windows were installed on Day 11.

07 · DAYS 12–13
TRIMDEK wall cladding
TRIMDEK metal wall cladding was installed around the POD.

08 · DAYS 14–16
Entry cladding & external trims
Cavity battens prepared the entry for Weathertex cladding. Final external flashings and trims completed the external lock-up sequence.
WHAT HAPPENS NEXT
Internal fit-out follows external lock-up.
By Day 16, the POD had reached external lock-up, with its roof, windows, cladding, flashings and trims in place. Internal services and fit-out, final inspection and handover follow this stage.
YOUR BACKYARD. YOUR POSSIBILITIES.
What could work in your backyard?
Every backyard is different. Tell us about yours and we’ll look at levels, services and setbacks with you.
