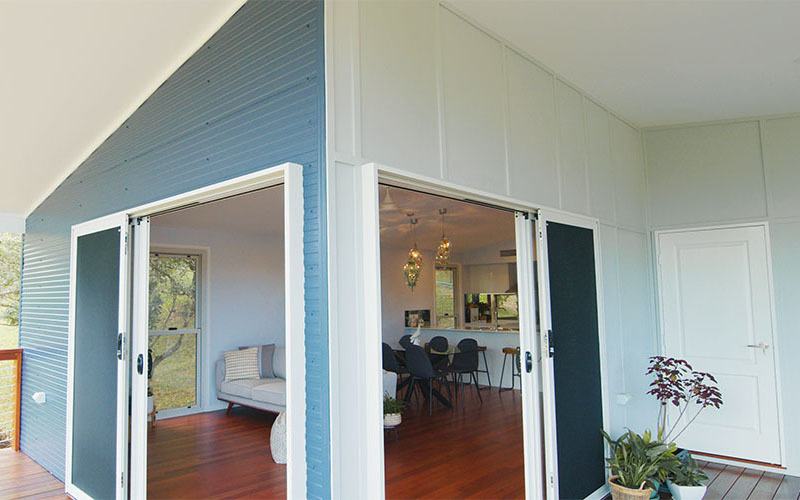
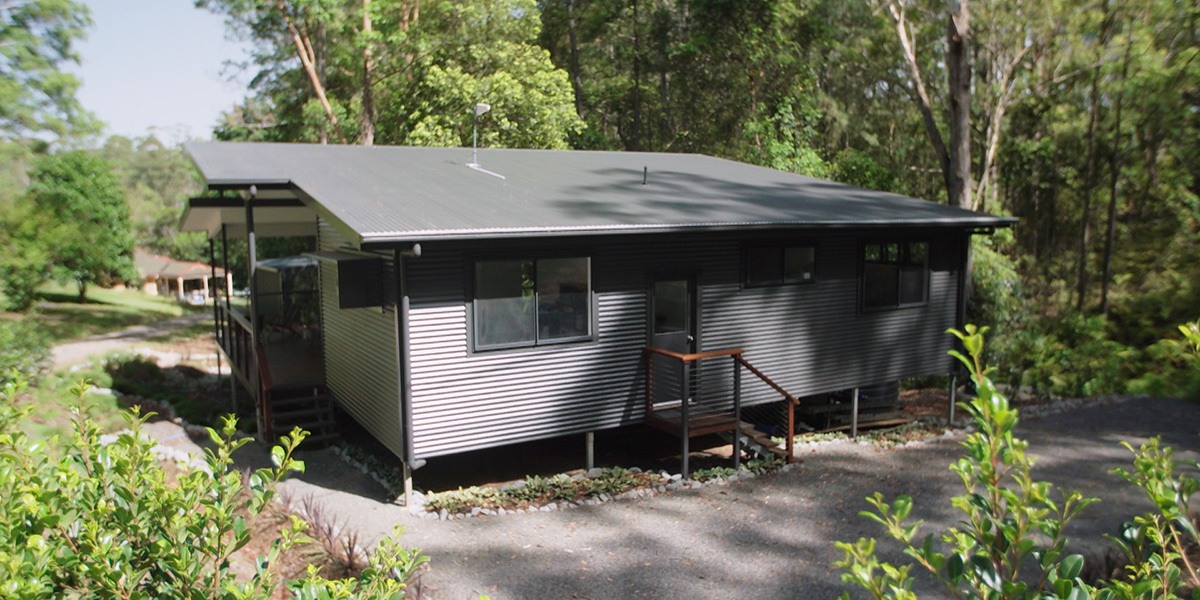
Have you been considering building a granny flat on a sloping block? If you have recently moved or are considering moving to the Sunshine Coast region, you will probably be familiar with the landscape. While we are very fortunate to live in a diverse ecological system with abundant rainforests and pristine beaches. The rolling hills aren’t always the most ideal building ground. However, as Sunshine Coast locals, we have learnt about the best Sunshine Coast building and engineering techniques. Read more about our sloping block build process below.
Begin your obligation free quote! We are the sloping block granny flat building experts.
We Have A Systemised Approach to Sloping Block Builds
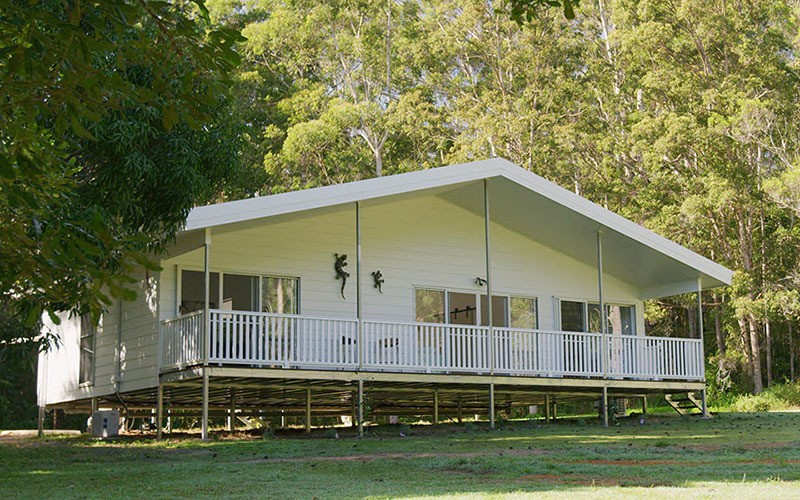
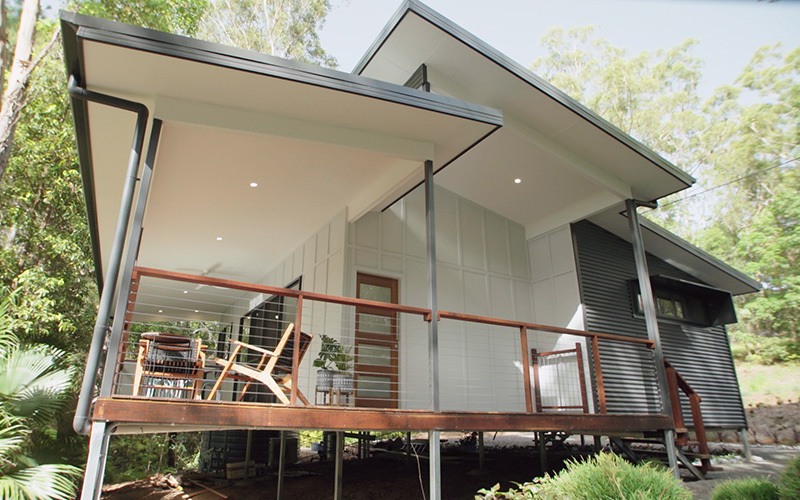
We have worked hard to create our own unique building process. When you choose to build with us, you can be assured that we know how suspended floor builds work. There are so many benefits associated with suspended floor systems – not limited to, but including long spanning capabilities. Steel frame engineering can allow for less post, meaning that cantilevered deck that you had been dreaming of is possible. Our frames do not rot, and will last for the test of time. In addition, steel will not warp over time. Lets run through our sloping block building process.
Step 1 – Design
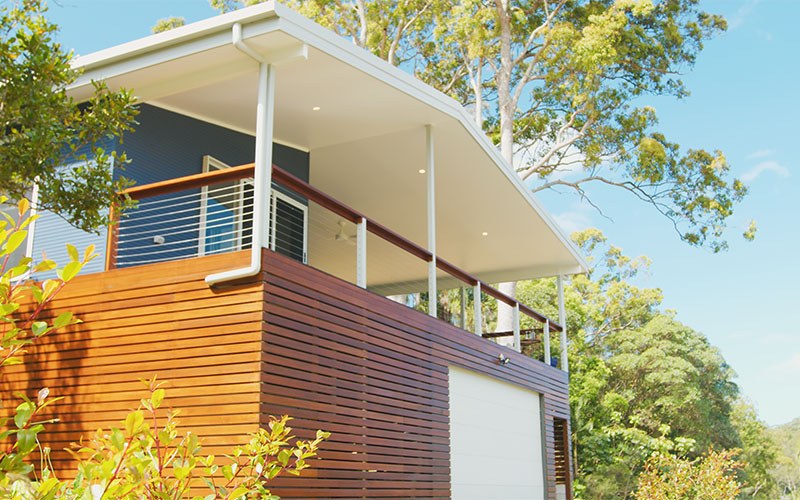
One of the most important steps. Firstly designing your internal layout, and then designing a floor system that will be capable of handling the required loads for your unique block of land.
Step 2 – Materials
We will need to calculate and order the required amount of material for your unique build. We utilise an inline floor system which means that there is possibility of keeping the dwelling quite low to the ground – if you prefer this option.
Step 3 – Soil Conditions
The soil test will be a crucial element in the engineering process. Soil type will vary from region to region, so it is important that we understand how your site soil will behave. The soil will bear the entire load of the building, so it is crucial that we know what the exact bearing load is.
Step 4 – Footings
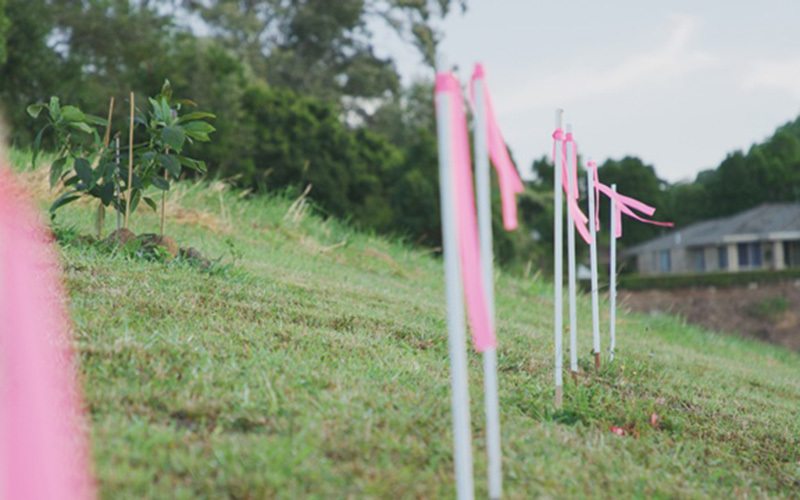
The footings are the holes which we auger into the ground to carry the flooring posts, the size is calculate based on the soil type. Typically, these are 450mm in diameter and the depth is dependent on your soil type. After the hole has been made, we will concrete the posts in by hand.
Step 5 – Posts
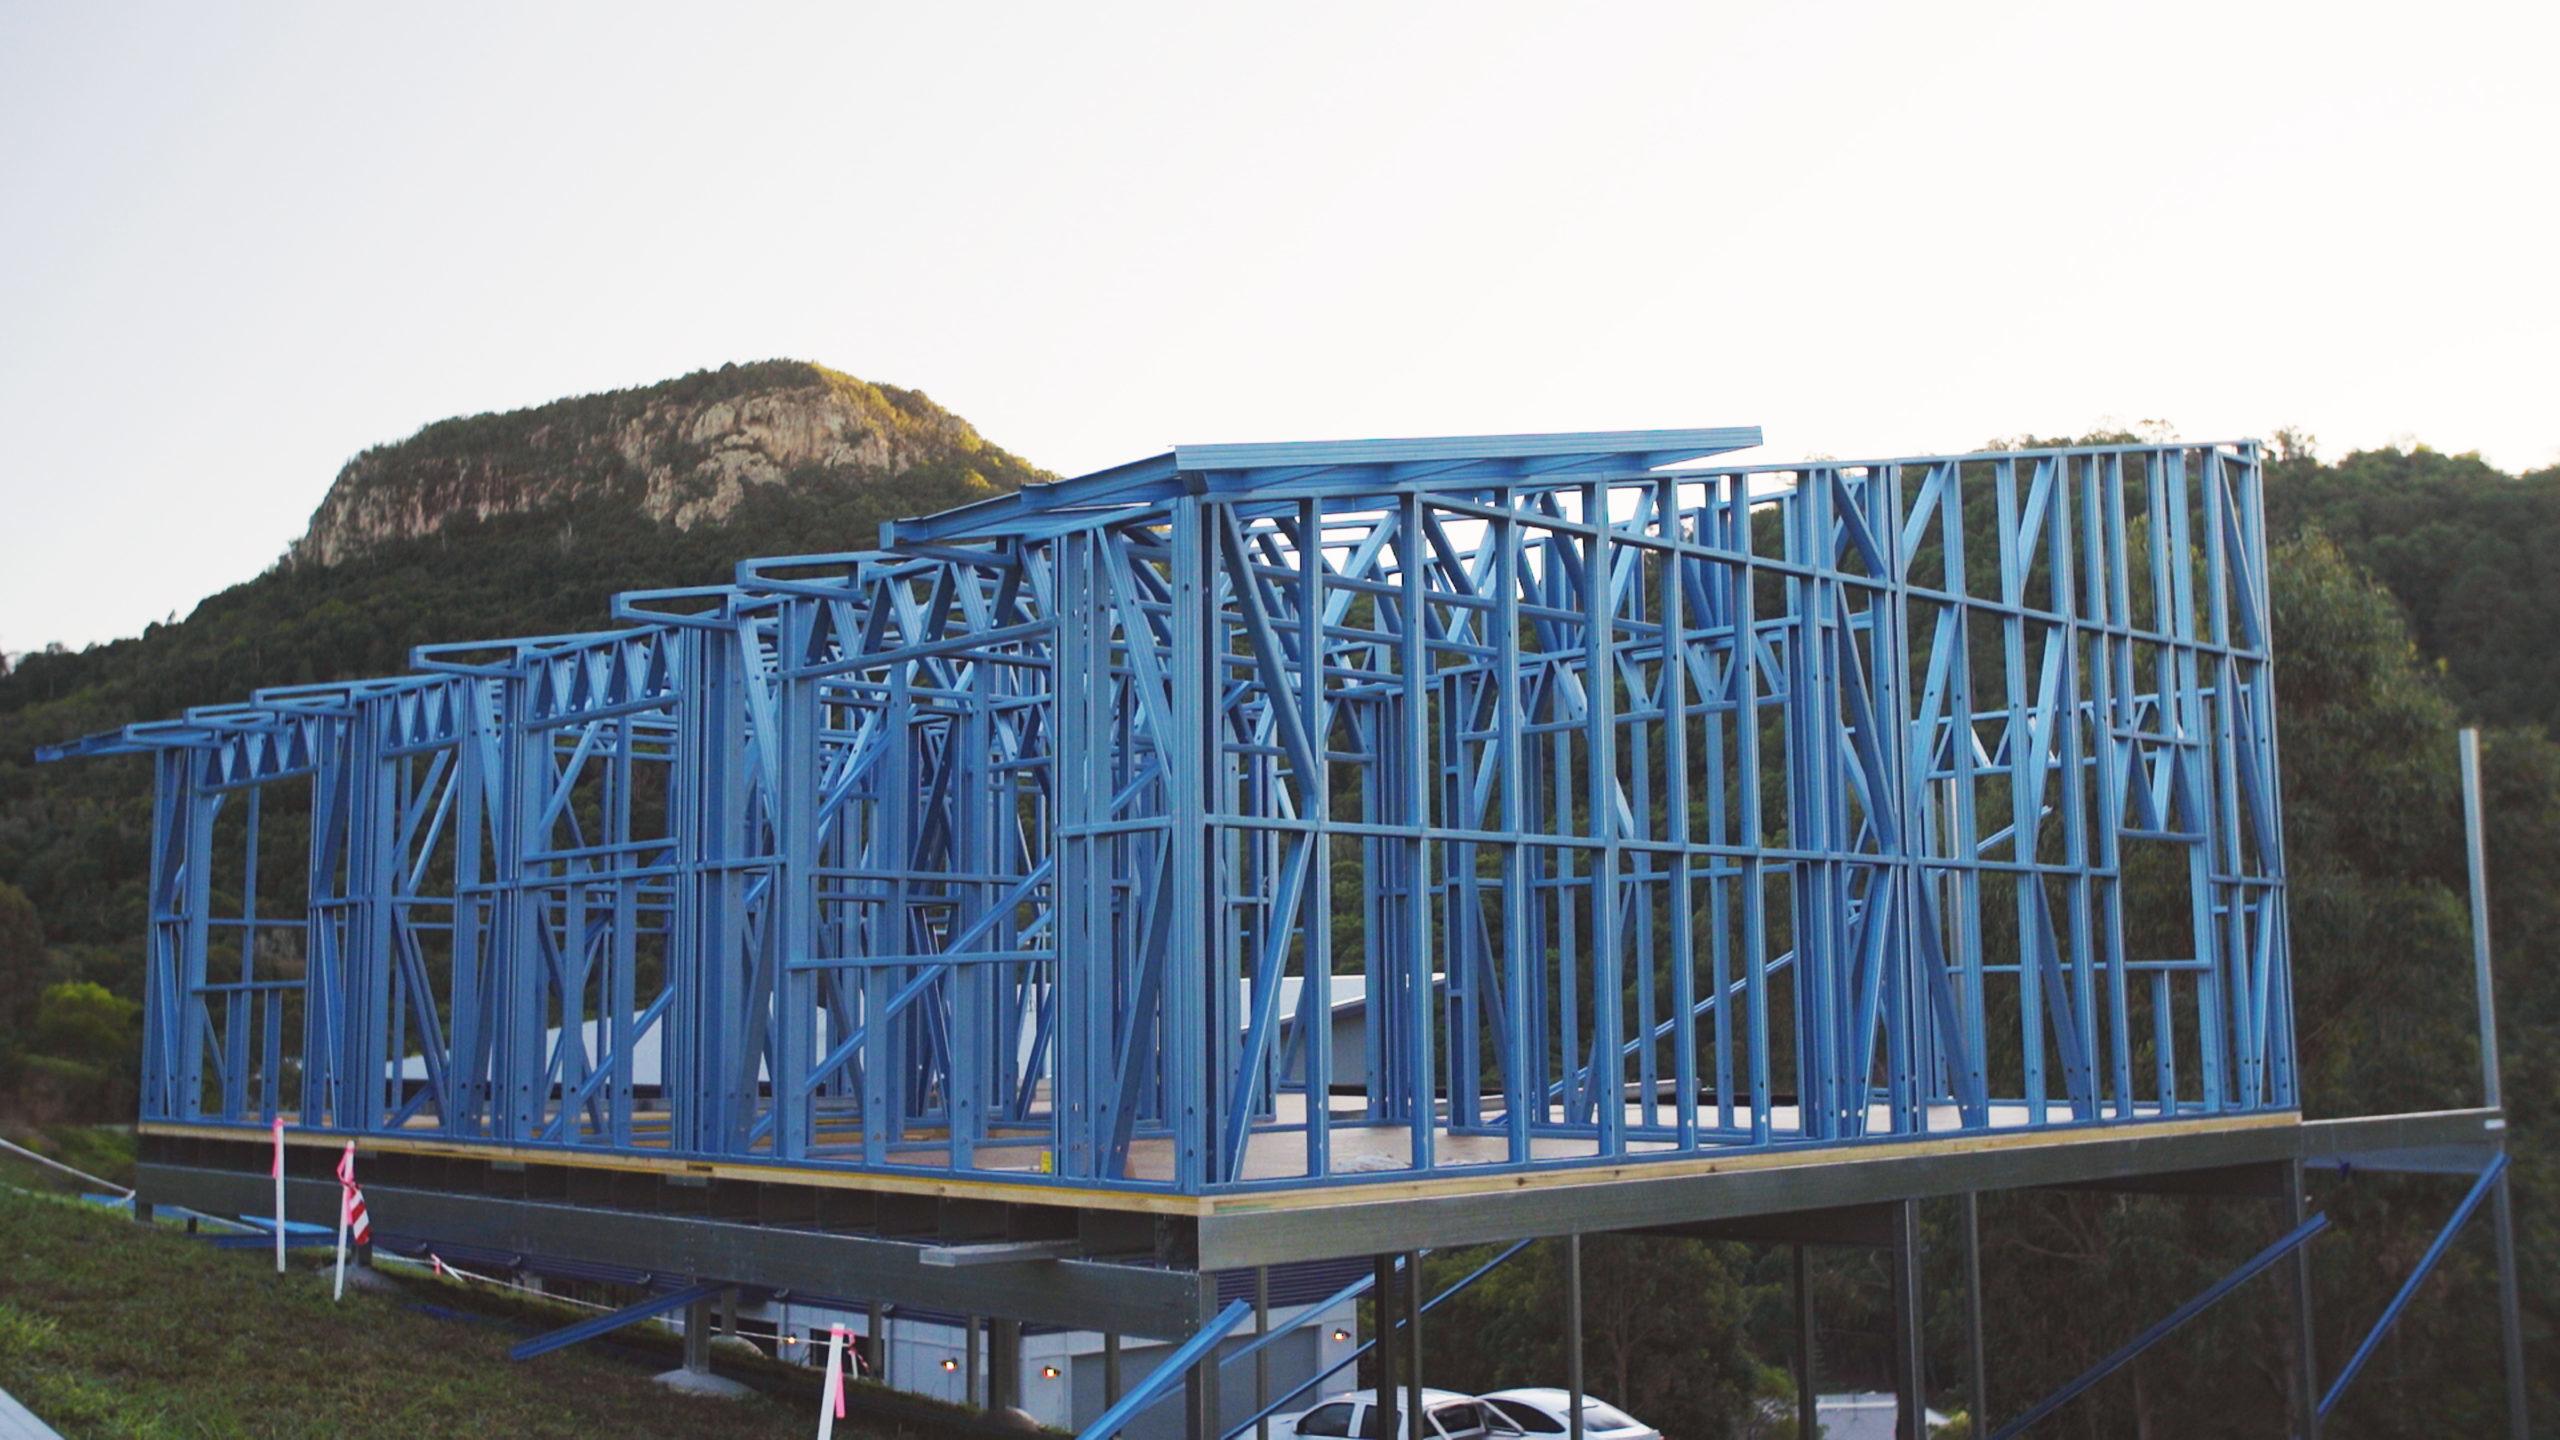
We utilise SHS posts with a duragal coating, which will protect the steel from the elements. SHS posts are a strong and cost effective option. The posts can be painted in any colour of your choice, once installed.
Step 6 – Bracing
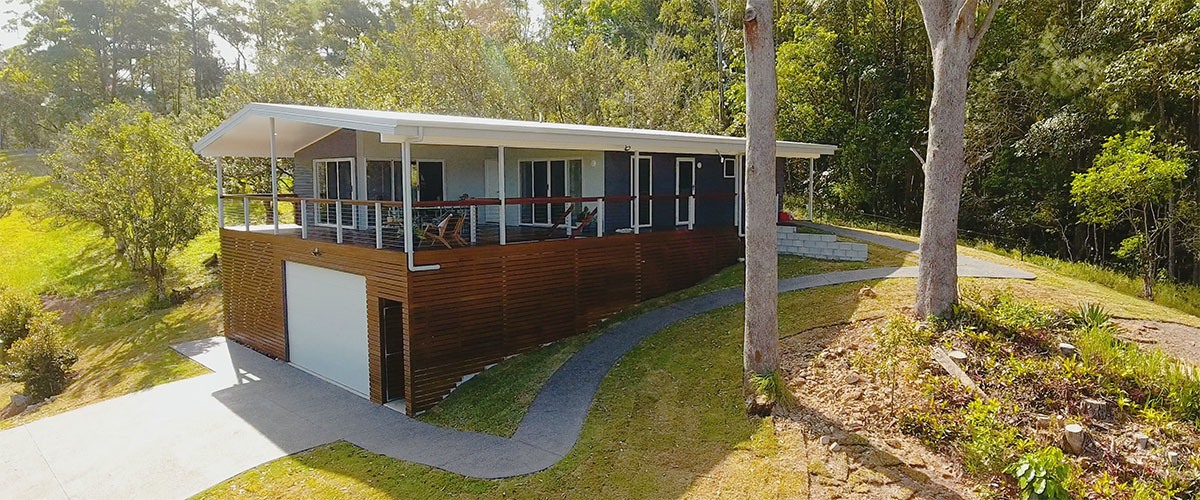
Bracing will be required where the height of the floor system is significantly above the natural ground level. The bracing will provide additional stability and support.
Step 7 – Bearers
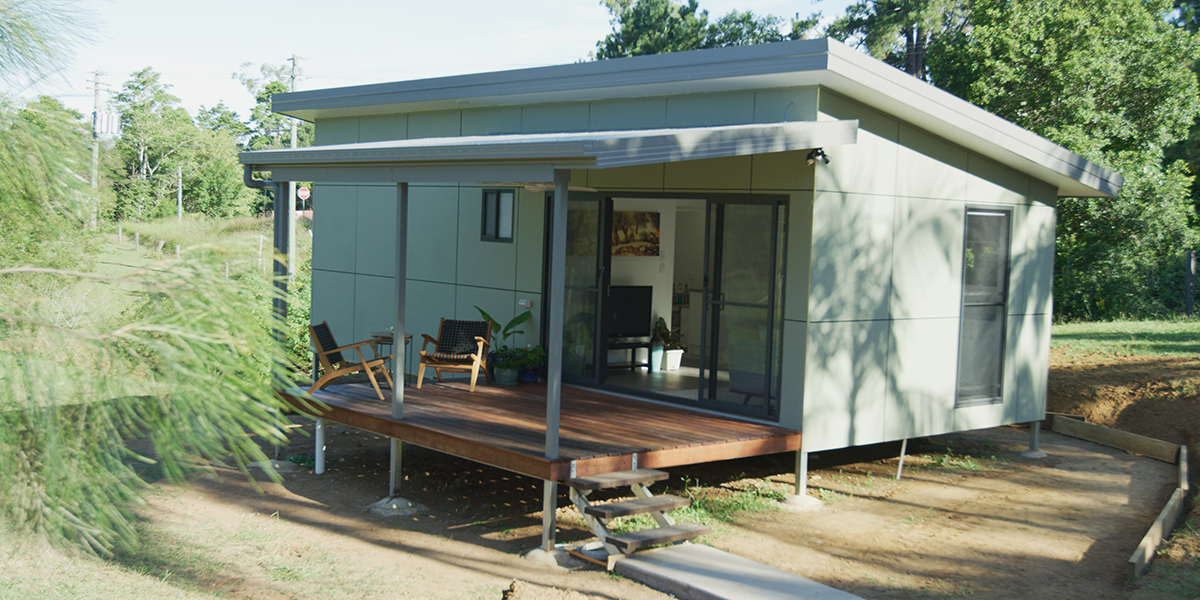
The bearers will be installed length ways between the posts and will carry the load of the building. Utilising a nesting channel, our engineered bearers will last a lifetime.
Step 8 – Joists
We will typically install C section joists, which run inside the bearer and are secured with tek screws. The construction build time is significantly increased with this construction method.
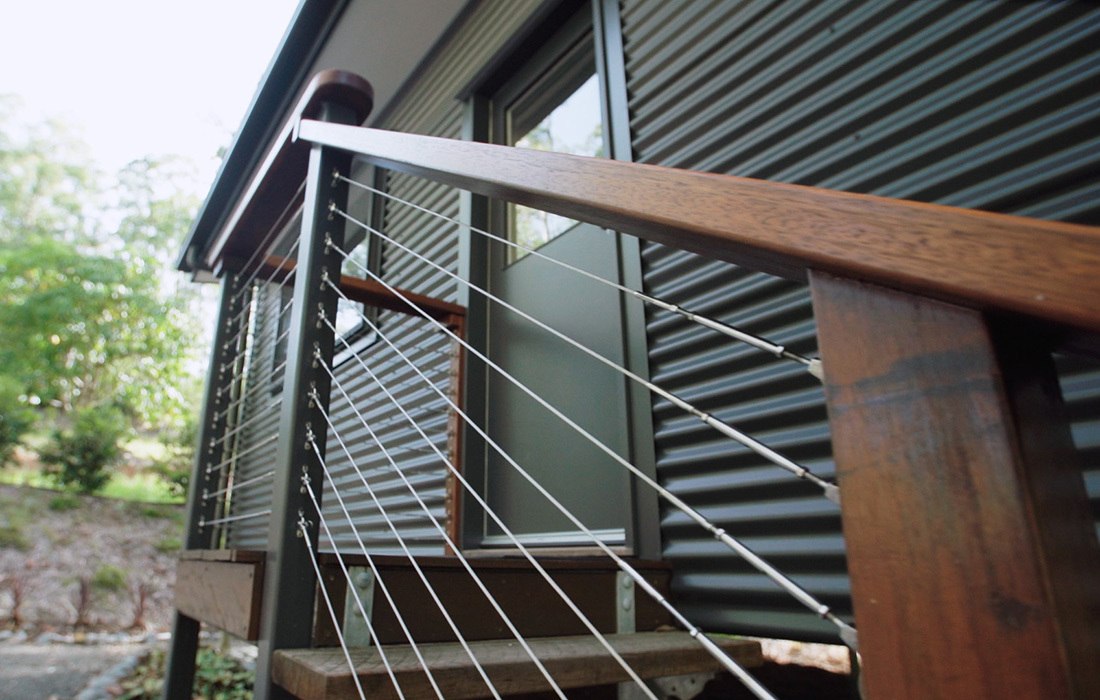
Step 9 – Flooring Material
After constructing the flooring system, we will install your choice of flooring. There are many options for you to choose from including yellow tongue particle board, tongue and groove timber floor boards, hebel powder floor and fiber cement sheet flooring. Typically, we install yellow tongue flooring as it is highly cost effective and durable.
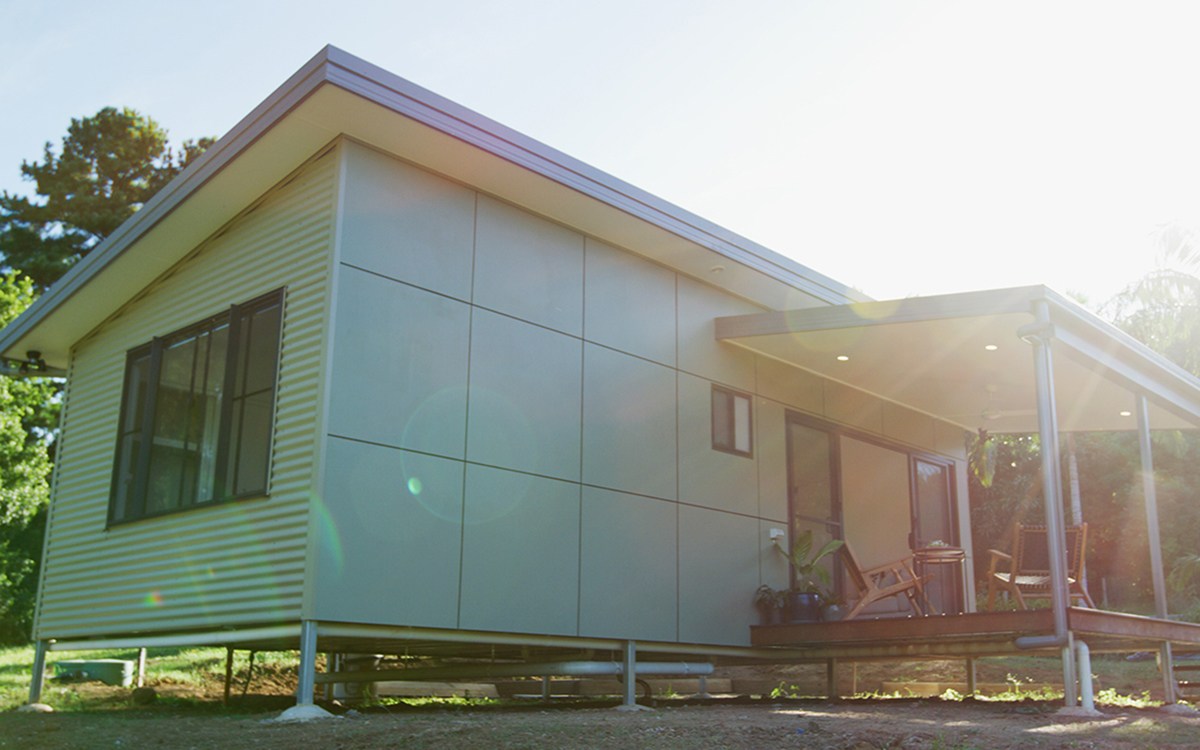
Each granny flat we build on a sloping block will be unique to the site. IF you are interested in viewing some of our sloping block plans, click here. Trust the expert Sunshine Coast granny flat builder to bring your dreams to life!
