Building a Sunshine Coast granny flat may seem intimidating if you are new to the game and unsure of what to expect when building. However you should know that this isn’t the case in reality. Whether you are building a new granny flat for yourself or extended family members, a simple way to put your mind at ease from the outset is to familiarise yourself with the design and build process. Let’s shed some light on what you can expect when building, through various stages of the process.
Wondering about what to expect when building? Enquire with the building experts.
The Initial Design Concept
The first thing you will need to do is have your plans and ideas drafted by our in-house architect. Prior to beginning the plans, you will meet with them to discuss your ideas and find out more about their approach to designing a Sunshine Coast granny flat. It is so very important to clearly communicate your points to enable them to capture all of your wishes and wants on the plans.
Finalise Your Plans
After receiving a price estimate, you will work towards finalising the plans for your Sunshine Coast granny flat build. Usually, the first price estimate (provided after the first round of plans) will help guide you into making all of the final design choices. Usually the final set of plans will be guided by your budget or borrowing capacity.
Selections and trade plans (such as the electrical/lighting plan and plumbing plan) will also be finalised once you have a clear concept of what this new granny flat will look like.
Construction
Once your plans are finalised, selections made and building approvals granted and building contract signed, the most exciting part can begin! Here’s a general idea of what to expect when building with The Shed House;
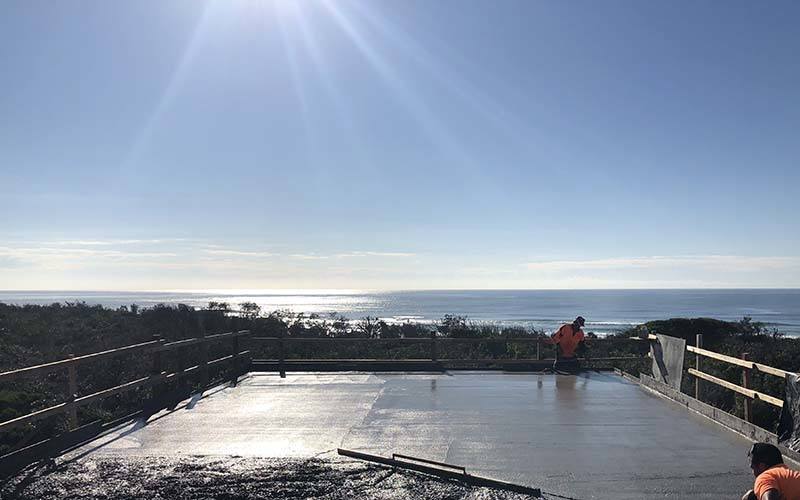
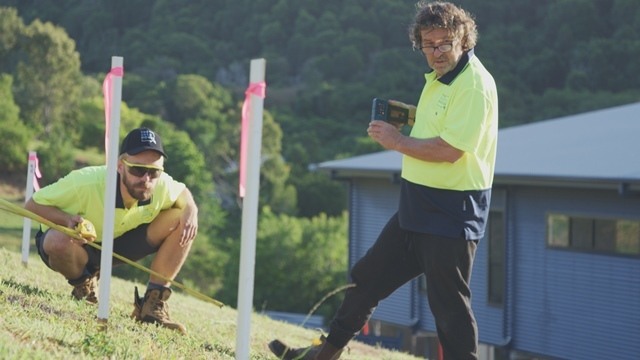
- Site preparations & base stage – We will work with you to determine the exact positioning of your new Sunshine Coast granny flat on your land. Usually with a gridline survey. The locations of the footings and/or foundations will be pegged out for you to see. Whether building to slab or suspended floor system – the ground work will also be completed here. Depending on your choice of floor system, the electrical and plumbing rough in may also begin at this stage.
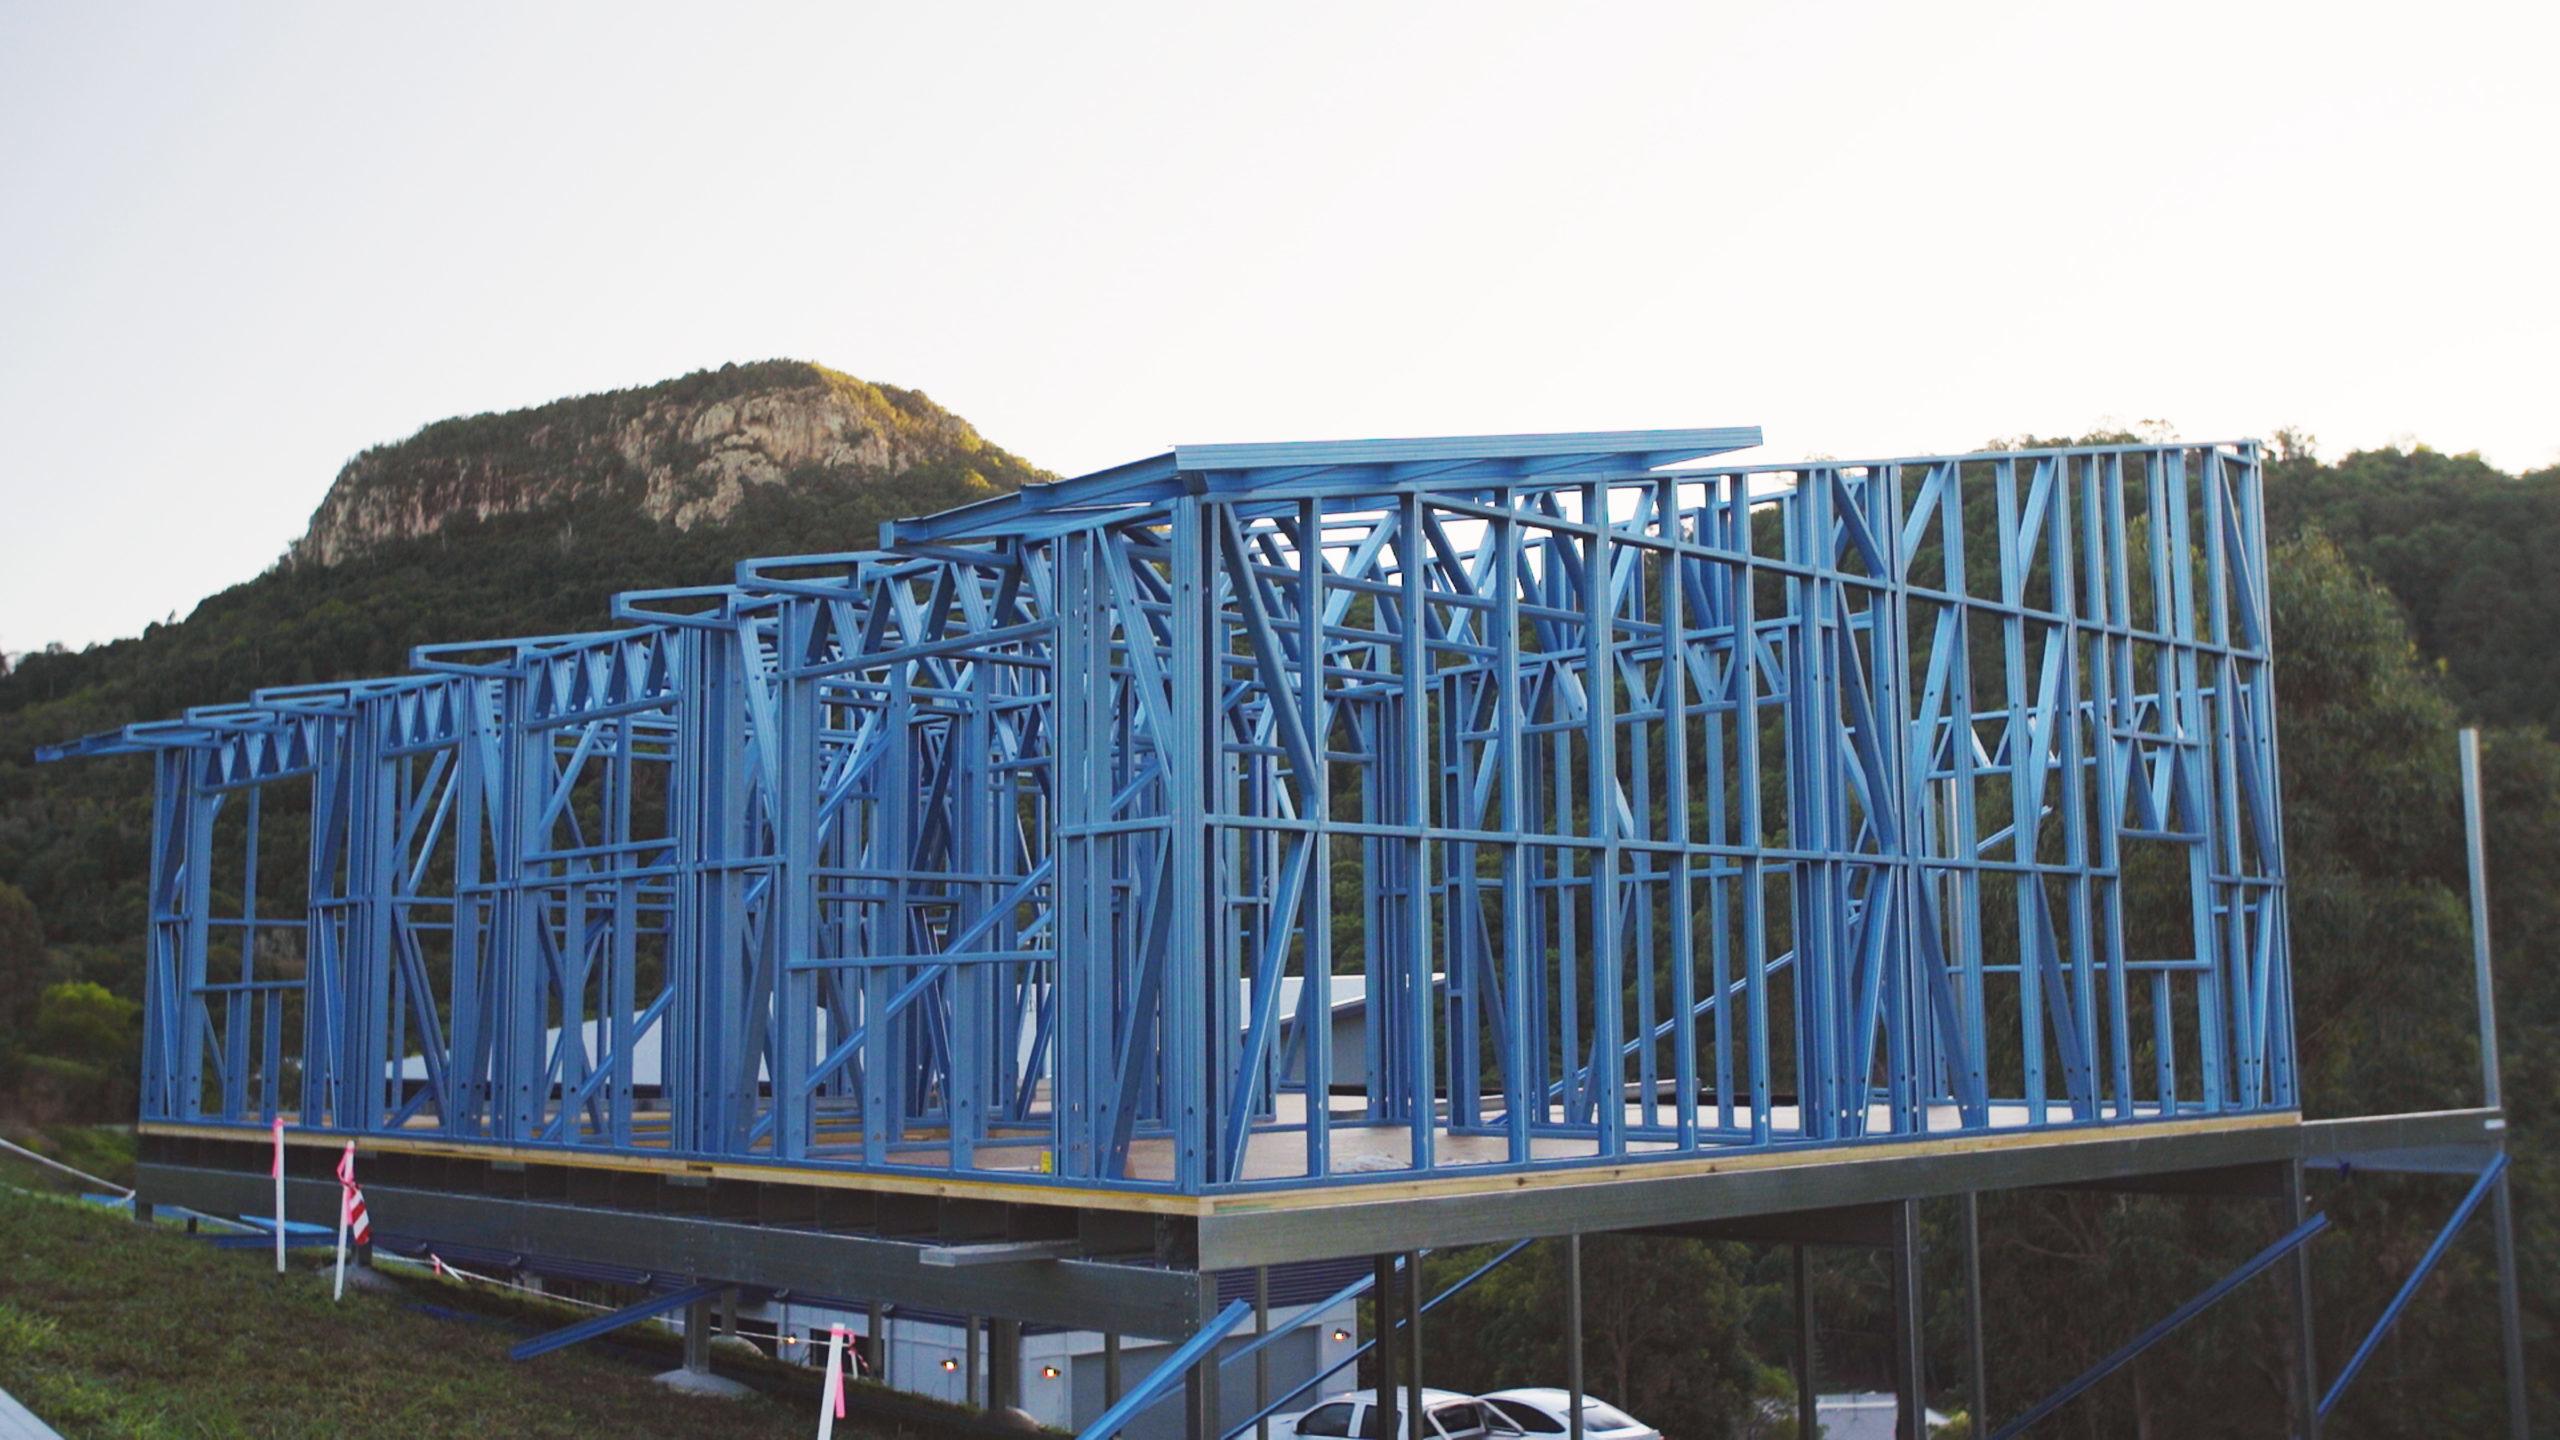
- Frame stage – The wall frames and roof trusses are erected, plus the electrical & plumbing rough ins will begin (if not already started) – now you will be able to see the general outline and shape of the Sunshine Coast granny flat. You will also get a real sense of the size, which can be very exciting!
- Lock-up stage – The exterior of the Sunshine Coast granny flat is constructed, including; the roofing, wall cladding and the external window/door installation. Think of ‘lock-up’ as a watertight lock up building.
- Fixing stage – The interior of the home will be completed during the fixing stage. Including installation of insulation, plaster, skirting boards, architraves, internal doors, flooring, cabinetry and any other project specific items.
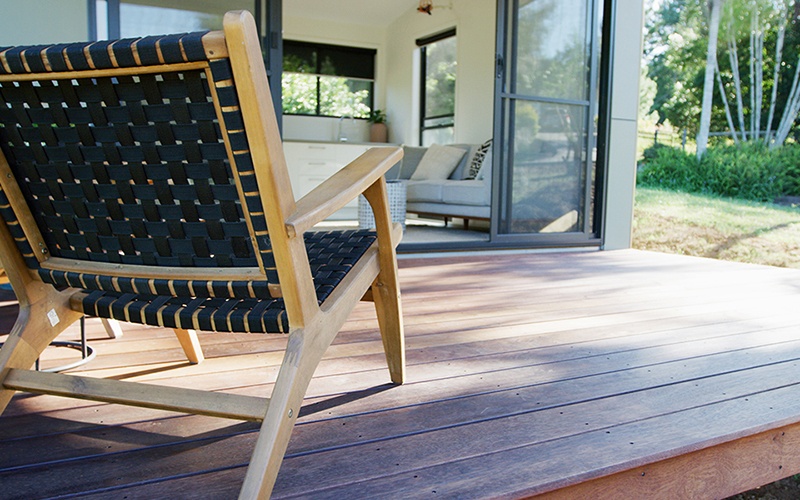
- Final stage/handover – The final touches will be completed in the last stage. This may include painting, tiling, electrical & plumbing fit offs, installation of screens etc. The final building inspection will also be completed meaning that the new building will now be suitable to occupy!
Are you still wondering about what to expect when building a Sunshine Coast granny flat? Make an enquiry with our team today to receive further information including an in depth brochure outlining previous granny flat builds undertaken here in the Sunshine Coast.


