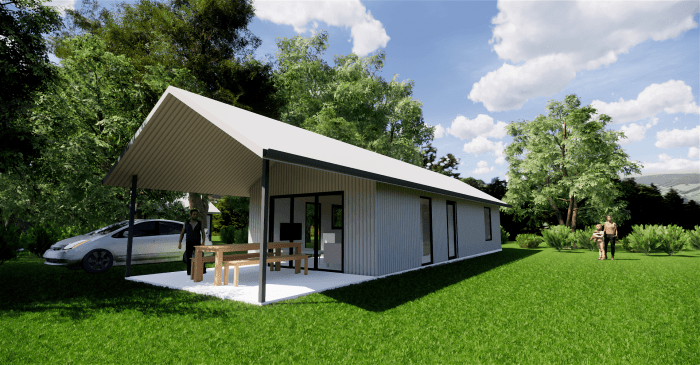
Have you decided to build a granny flat, shed home on the Sunshine Coast, furthermore would you like to know more about your Class 1 slab? Once the decision is made and you are ready to go, there are a number of things you need to consider when making your final design and location decisions. See our blog 10 things to consider before building a shed home on the Sunshine Coast for some more insight.
Part of the process of building a granny flat or shed home on your Sunshine Coast block is getting the foundations and class 1 slab done . Before you can start the process and as part of your granny flat certification process you will require:
- Soil Test to be completed on the location where the granny flat or shed home will be built.
- Class 1 Slab design based on the final design of the granny flat or shed home. Provides exact dimensions for the slab and key features of the building which may impact the slab engineering
- Engineering of the Class 1 Slab for your new granny flat or shed home. This will take into consideration details supplied in the soil test and the final design of the granny flat or shed home.
- Do you need a Termite barrier? (only required where timber will be used in the building process).
Once all this information is confirmed and you have received your certification approval saying the building can proceed, the site works and slab will be the next steps to follow.
The exact site works required will be completely dependent on the location of your granny flat or shed home. No two sites are ever the same. These works will include:
- Clearing away any vegetation from the area, if trees need to be removed the root system will also need to be removed.
- Levelling of the area will be completed and a layer of sand will be placed on the area as part of the requirement for the class 1 slab preparation.
- Digging of footing holes and beam trenches will be done as per the the slab design and engineering received. Following these documents in the actual work is vital to the stability and integrity of the final class 1 slab and your finished Granny Flat
Once the site works are completed the concreter will work to complete these steps before the final slab can be laid:
- Laying of the moisture barrier (black plastic).
- Laying of mesh and steel into the slab area and footings as per the class 1 slab design and engineering.
- The plumbing for your granny flat or shed home needs to be done at this point. The concreter will liaise with your plumber to ensure all relevant plumbing components are placed into the correct position.
Two inspections are required on all class 1 slab preparations as part of the building certification process.
- First inspection is done once all steel and mesh is laid and prior to pouring any concrete
- Second inspection is done once concrete is poured into the footings prior to the main slab being poured
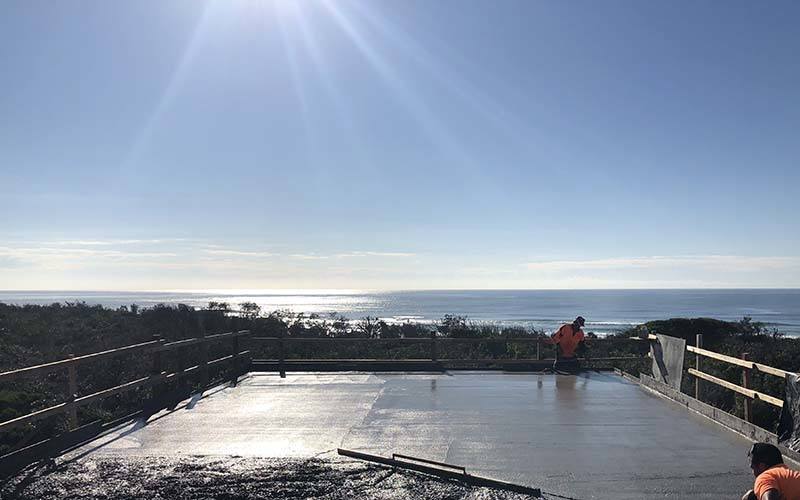
Once the main slab is poured this completes the first and most important stage of your Sunshine Coast granny flat building process. It is vital that your class 1 concrete slab be allowed to cure for a minimum of 7 days before building commence. This will ensure that the concrete strengthens correctly and maintains its integrity for years to come.
If you choose to build a granny flat, shed home or home studio on the Sunshine Coast with the The Shed House team they will be able to guide you through these processes.
Read through our Building Process Explained article for more information on the complete process.
Contact us to discuss building your customised plans today, or get a quote on starting as an owner builder!

